
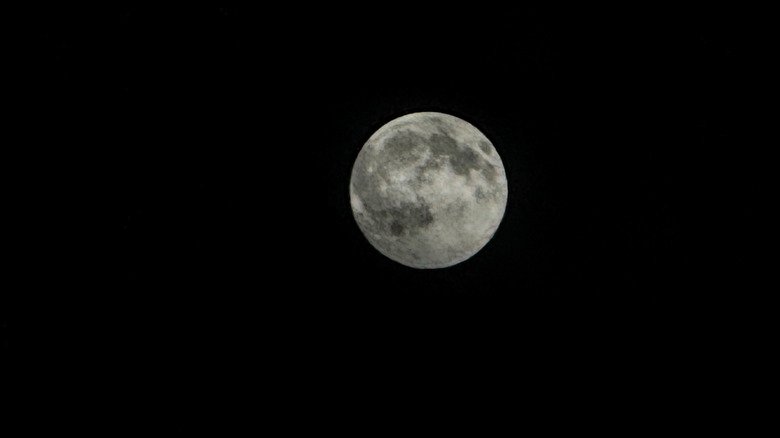
Pointing your iPhone at the Moon often ends in disappointment: a glowing white disc or a smeared blur. The problem isn’t your phone’s AI—it’s physics. The Moon is sunlit and intensely bright against a pitch-black sky, and the camera’s exposure system tries to average that extreme contrast, usually by overexposing the lunar surface until all detail vanishes. With iPhone moon photography, success comes from taking manual control of exposure, zoom, and stability.
Why the Moon Turns Into a Featureless Blob
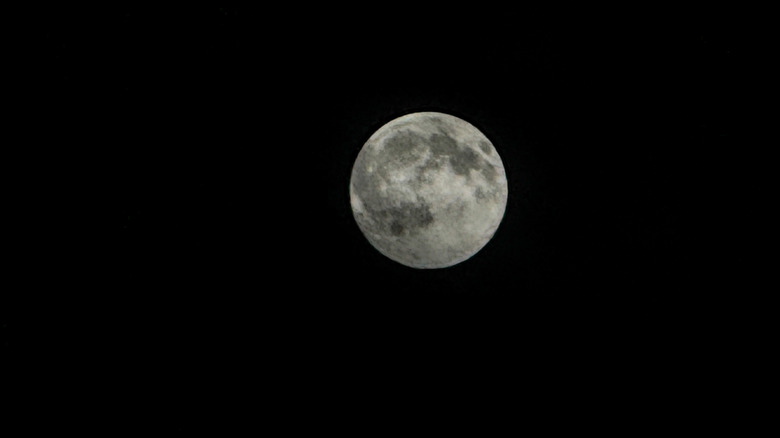
Your camera wants to brighten the dark sky, which forces the Moon to blow out. That overexposure eliminates craters and texture, leaving a plain white circle. The camera also compensates by slowing the shutter to 1/30th of a second or longer, so even slight hand movement introduces blur despite stabilization. And unless you zoom in aggressively, the Moon remains a tiny dot. Recent Pro models—iPhone 17 Pro and iPhone 18 Pro—offer up to 8x optical-quality and 40x digital zoom, while iPhone 15 Pro and 16 Pro reach 5x optical and 25x digital. Standard iPhone 17 and 18 models provide 4x optical and 10x digital zoom. Regardless of your model, push the zoom as far as possible.
Stabilize Your Shot
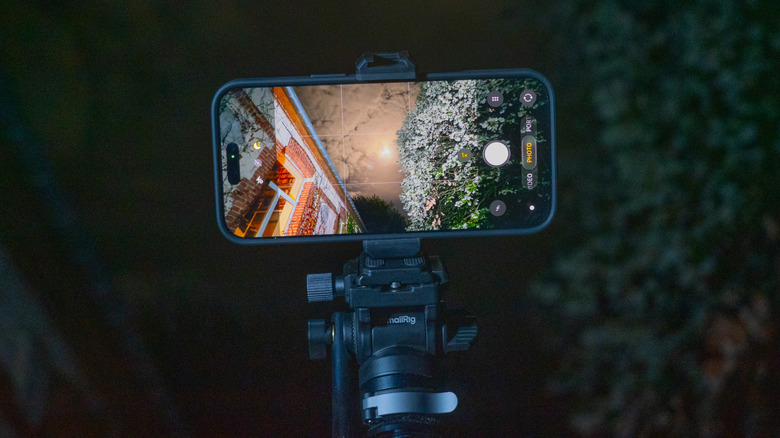
A tripod is the simplest upgrade. An inexpensive model with a smartphone holder works, though spending at least $20 on a more adjustable tripod pays off. If you already own a tripod without a phone mount, an inexpensive tripod-compatible holder solves that. A tripod also helps with long exposures, panoramas, hands-free video, and video calls. No tripod? Prop the iPhone against a book or coffee cup and use the three-second timer from the six-dot menu to avoid jostling the phone when you tap the shutter.
Dial In Exposure and Brightness
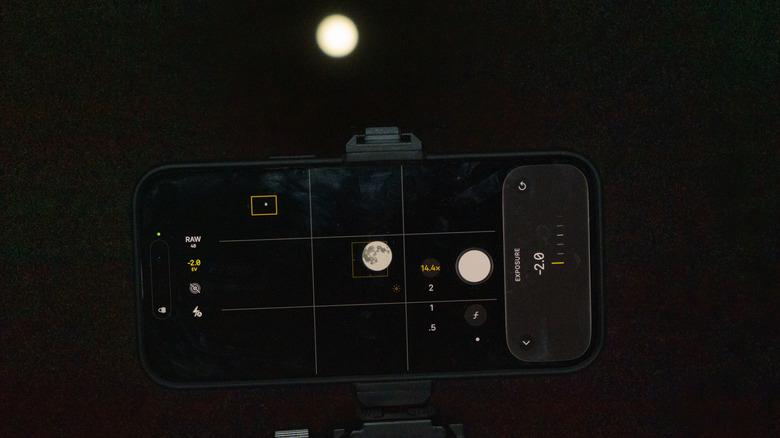
Older iPhones lack manual shutter and ISO controls (the iPhone 18 Pro adds them natively), but you can still adjust two separate settings: exposure and brightness. Open the six-dot menu, tap Exposure, and drag the slider to -2EV to let in the least light. That setting persists until you close the Camera app. Next, tap and hold on the Moon for several seconds to lock focus and exposure. A brightness slider with a sun icon appears; drag it down near the minimum. Craters and detail should emerge. Keep brightness as low as possible for maximum detail—you can always raise it later. Then press the shutter.
For video, switch to Video mode, zoom in (up to 15x on recent Pro cameras), set Exposure to -2EV, lock focus on the Moon, and lower brightness until detail appears. Record, then extract a still by pausing playback on a frame and taking a screenshot.
Understand Resolution Limits
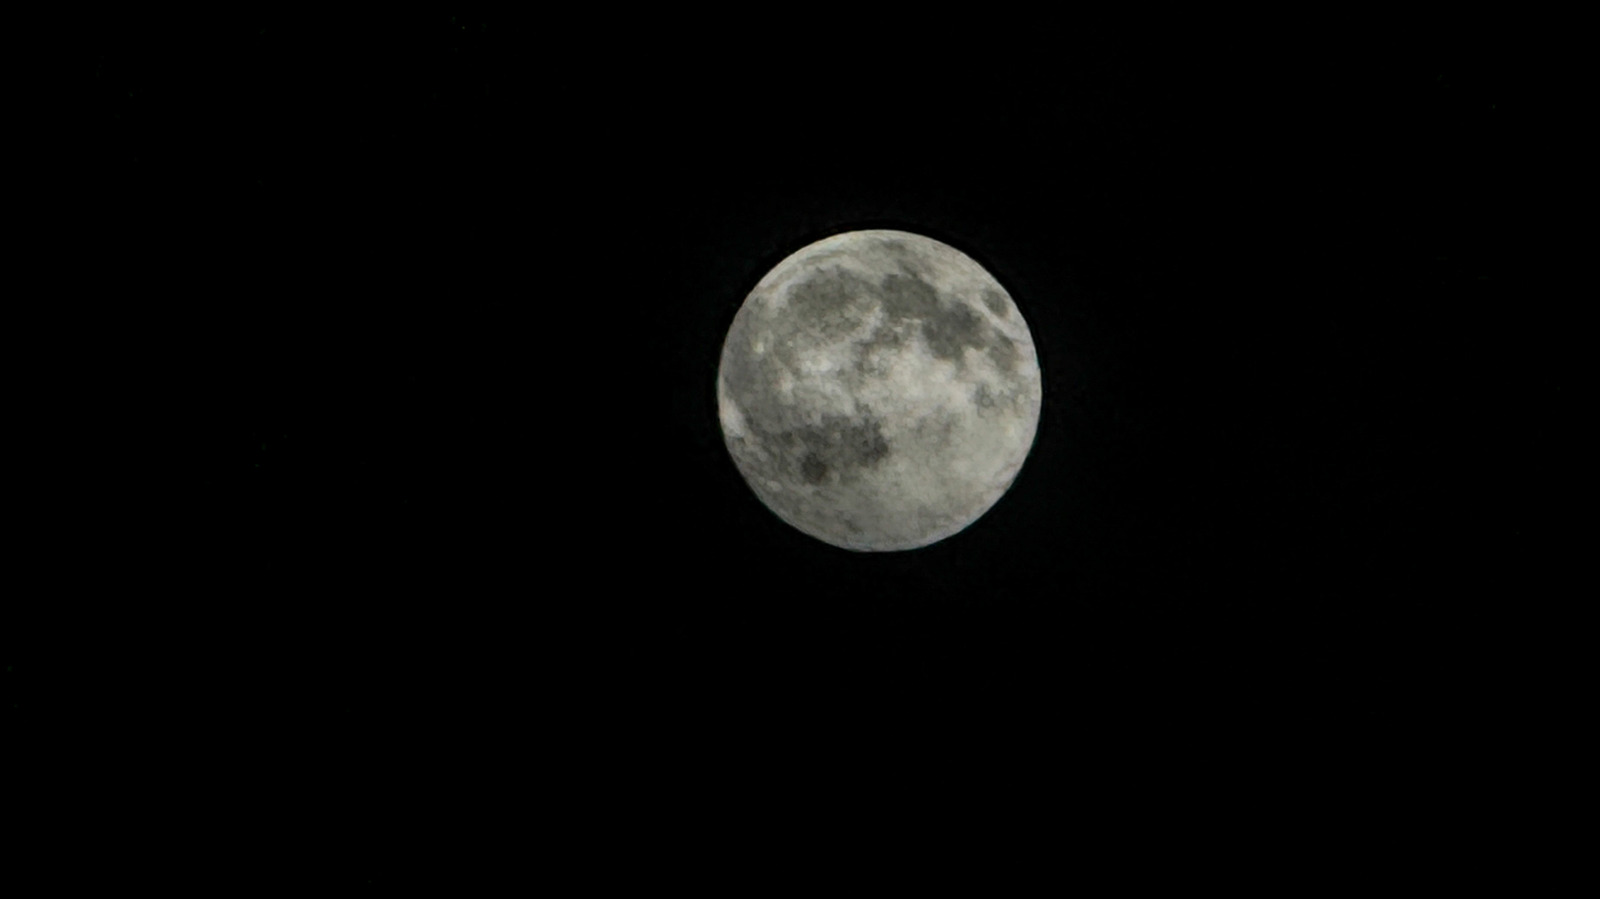
Pixelation is expected. At 25x digital zoom on an iPhone 15 Pro or 16 Pro (12MP 5x telephoto), effective resolution drops to about 0.48 megapixels; the camera upscales to 12MP, but real detail is gone. iPhone 17 Pro and 18 Pro models with 48MP sensors and 4x optical zoom retain roughly 1.24MP at 25x before upscaling. More control is available through third-party apps: Moontake is free, defaults to the longest telephoto lens, sets exposure automatically, and displays lunar azimuth and altitude. Halide Mark III and ProCamera offer granular ISO and shutter speed control.